2026-09-14
7 Top Etsy Listing Image Tools for Better Shops
Compare top Etsy listing image tools for mockups, photo editing, and layouts to create polished product visuals that earn clicks and set clear expectations.
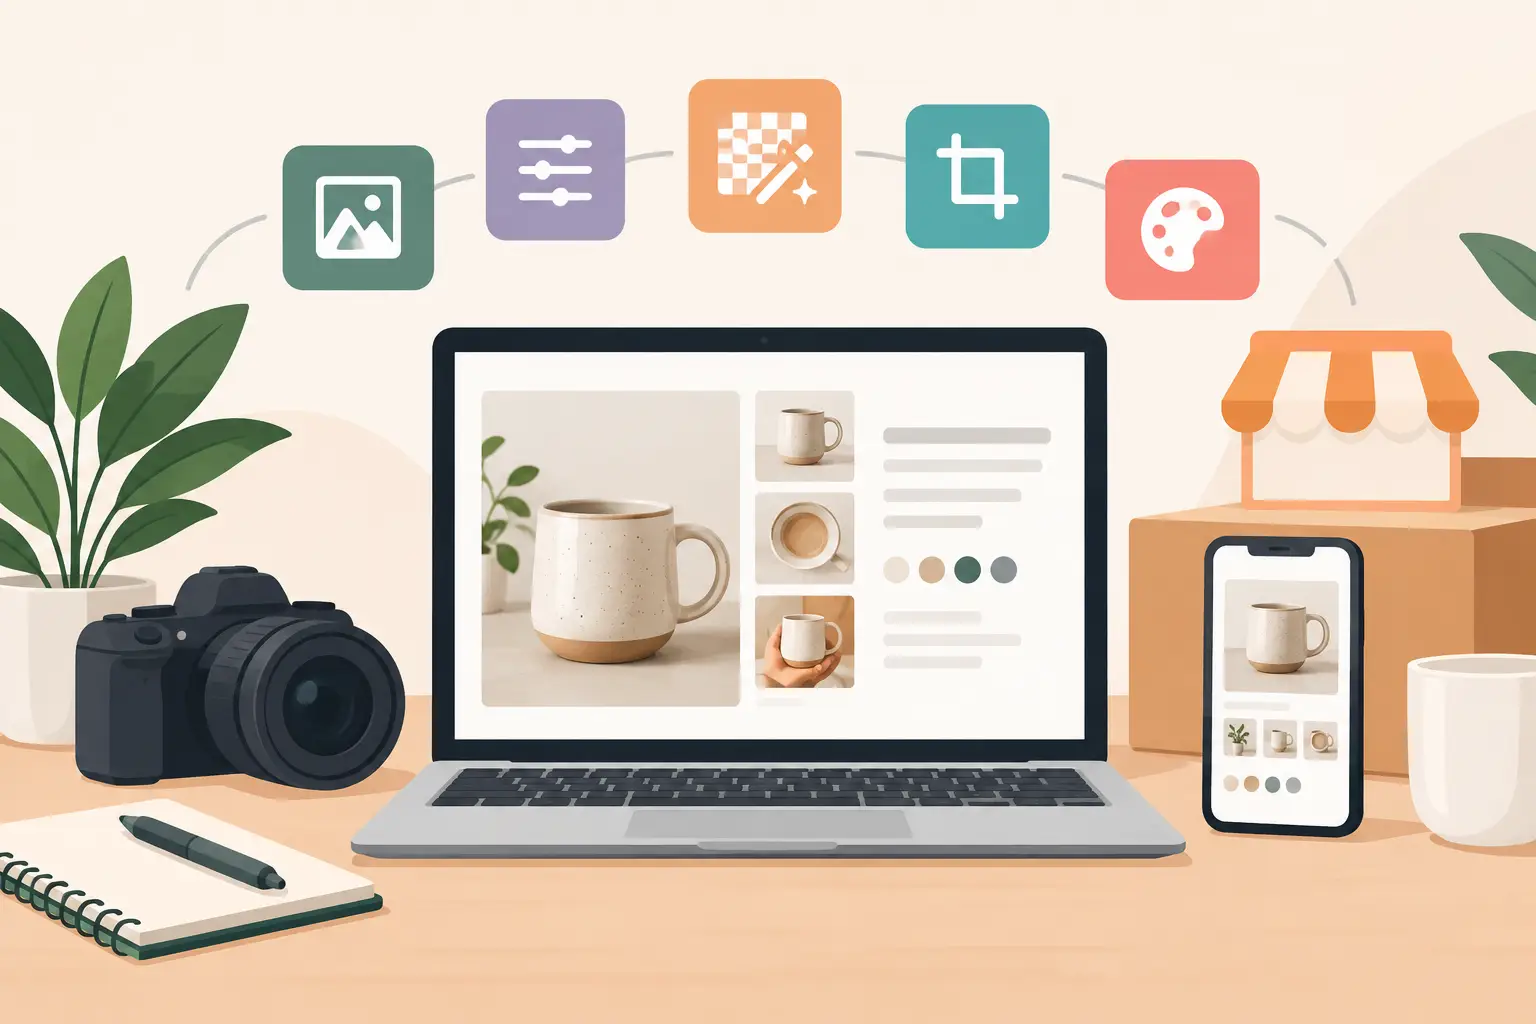
A shopper can understand a garden flag design in seconds, but they still need to picture it moving on a porch, framed by a front door, or displayed beside seasonal decor. The same applies to tote bags, throw pillows, digital downloads, and personalized gifts. That is why the top Etsy listing image tools are not simply photo editors. They help sellers turn a flat file into a product image that feels credible, useful, and ready to buy.
For a small shop, the goal is not to create a magazine campaign for every listing. It is to make the product clear, attractive, and consistent without ordering samples, finding locations, or learning commercial photography. The best tool depends on what you sell and how you work, but a focused image stack can make publishing new products much faster.
What Etsy Listing Images Need to Do
A strong Etsy image has a practical job. Your first image must stop the scroll while still showing the product accurately. The next images should answer questions before a buyer asks them: What does the item look like in use? What is included? How large is it? Can it be personalized? What color or style options are available?
That calls for more than a pretty background. A realistic tote bag mockup should preserve the fabric texture and the shape of the bag. A pillow scene should make the scale feel believable. A listing for a printable file may need a clean preview, a size guide, and a simple explanation that no physical item ships.
Use tools that support those jobs rather than adding complexity for its own sake. If your designs are already finished, you may need mockups and light layout work more than advanced retouching. If you photograph handmade products yourself, photo correction may be the priority.
The Top Etsy Listing Image Tools by Job
1. Photoshop for precise smart-object mockups
Photoshop is still the best choice when you want the highest level of control over product mockups. Smart-object templates let you place your design once, save the smart object, and have the artwork conform to the product scene. Good templates account for perspective, shadows, highlights, folds, and material texture, so the finished image does not look like a flat rectangle pasted onto fabric.
This workflow is especially useful for print-on-demand sellers with a growing catalog. You can apply a new garden flag design to several seasonal scenes, export listing-ready files, and keep the visual treatment consistent across the shop. It also gives you room to make small adjustments when a pattern needs different placement or a design has a transparent background.
The trade-off is the learning curve. Photoshop takes more time than a browser-based editor, and layered PSD files can feel unfamiliar at first. But if you use mockups frequently, smart objects remove much of the repetitive production work after you learn the basic process.
2. Canva for fast layouts and seller-friendly graphics
Canva is a practical choice for Etsy sellers who need speed over pixel-level control. It works well for arranging multiple product views, adding clean text overlays, creating size charts, and building branded listing-image templates. Canva-compatible PNG mockups are particularly useful when you want a straightforward drag-and-drop workflow.
Use Canva to create supporting images around your primary product photo: a personalization instruction slide, a color-options panel, or a "what's included" graphic for a digital product. Keep text brief and large enough to read on a phone. Etsy shoppers often make a quick decision from the thumbnail and swipe through the rest of the images only when something catches their attention.
Canva is less suitable when artwork needs to wrap naturally around a curved or textured product. A PNG overlay can look excellent in the right scene, but it does not provide the same automatic perspective and fabric realism as a well-built PSD smart object. For many shops, the efficient answer is to use a prepared mockup for the hero image and Canva for the explanatory slides.
3. Product mockup templates for believable lifestyle scenes
A mockup template is not one single app. It is the production asset that gives your product a setting, scale, light, and context. For sellers without original product photography, this is often the highest-impact part of the listing-image workflow.
Look for mockups made for your exact product category. A generic wall-art scene will not help a seller who needs a square throw pillow to look natural on a sofa. Likewise, a tote bag needs believable handles, fabric detail, and a scene that suits its audience. Category-specific templates reduce the visual compromises that make listings look assembled rather than photographed.
Choose a mix of clean product-forward scenes and lifestyle scenes. A white or neutral background can make the design easy to inspect, while a Christmas porch, cozy interior, farmers market, or autumn entryway helps a shopper imagine where it belongs. MockupSmith, for example, provides category-focused PSD smart-object files and Canva-compatible PNGs for garden flags, square pillows, and canvas tote bags.
Check licensing before using any template commercially. Your listing image needs to support a product you can sell, not create an unexpected usage restriction after the listing starts gaining traction.
4. Adobe Express for quick cleanup and resized variations
Adobe Express is useful when you need fast, simple image improvements without opening a full Photoshop project. It can help with cropping, basic text treatments, background tasks, and creating variations for Etsy, Pinterest, or social posts. It is a good middle ground for sellers who need more polish than a basic phone editor but do not need a layered production file every day.
Its biggest value is keeping routine tasks moving. After you export a mockup, you can create a second image with a short product benefit, resize a graphic for another channel, or make a seasonal announcement without rebuilding everything. The limitation is that it is not a replacement for a product-specific mockup workflow.
5. PhotoRoom for clean cutouts and simple product photography
If you sell handmade items, vintage products, or samples you have photographed yourself, PhotoRoom can be a useful cleanup tool. It is designed for removing and replacing backgrounds quickly, which can help turn a casual product photo into a clearer catalog-style image.
Use it carefully. A perfectly removed background is not automatically a convincing listing image. If the replacement background has different lighting, direction of shadows, or scale, the product can look artificial. It works best for a clean secondary image, a product comparison, or a simple detail shot. For a hero lifestyle image, authentic photography or a dedicated mockup often does more to build trust.
6. Lightroom for consistent color across real photos
Sellers who take their own photos need consistency more than dramatic edits. Lightroom is built for correcting exposure, white balance, color, and cropping across a batch of images. That matters when your product comes in several variations and every listing should feel like it belongs to the same shop.
For example, a cream pillow cover can look yellow in one photo and gray in another under changing indoor light. Basic correction helps buyers understand the true product color and reduces the gap between expectation and delivery. Avoid heavy filters. Etsy is a marketplace, not a mood board, and shoppers should be able to judge the item accurately.
7. A simple sizing-chart tool or template
Sizing is one of the most useful listing-image tasks, especially for physical products. Whether you make your chart in Canva, Photoshop, or another editor matters less than whether the chart is easy to understand. Include dimensions, a visual scale reference where appropriate, and only the details a buyer needs to choose confidently.
For digital files, replace physical dimensions with file formats, print ratios, included sizes, or editing instructions. For personalized products, add one calm instruction image showing exactly where shoppers should enter names, dates, or custom text. Clear information images may not be the most exciting slides in your gallery, but they prevent confusion and can reduce avoidable messages.
Build a Faster Listing Image Workflow
Start with one approved design file and one primary mockup. Export the hero image first, because it sets the visual direction for the listing. Then create three to five supporting images that answer buying questions: a second lifestyle view, a close product view or detail, a size or format graphic, options if relevant, and a personalization or delivery note if the product needs one.
Keep scenes aligned with the product and the season. A holiday garden flag earns more attention in a decorated entryway than against an unrelated office backdrop. But do not force seasonal imagery into every product. An evergreen neutral scene gives listings a longer selling window and is often a better foundation for year-round designs.
Before publishing, view every image at thumbnail size. If the design disappears, text becomes unreadable, or the product is too small to identify, revise the crop. Your listing images should create interest quickly, then make the buying decision easier with each swipe.
The best image tool is the one that lets you publish a believable product presentation before your next sales window closes. Choose a workflow you can repeat, save your layouts, and let every new design start with a finished scene instead of a blank canvas.