2026-08-15 · updated 2026-09-22
Canva PNG Mockup Workflow for Faster Listings
Build a Canva PNG mockup workflow that turns flat POD designs into polished Etsy and Shopify listing images, without a camera, samples, or Photoshop.
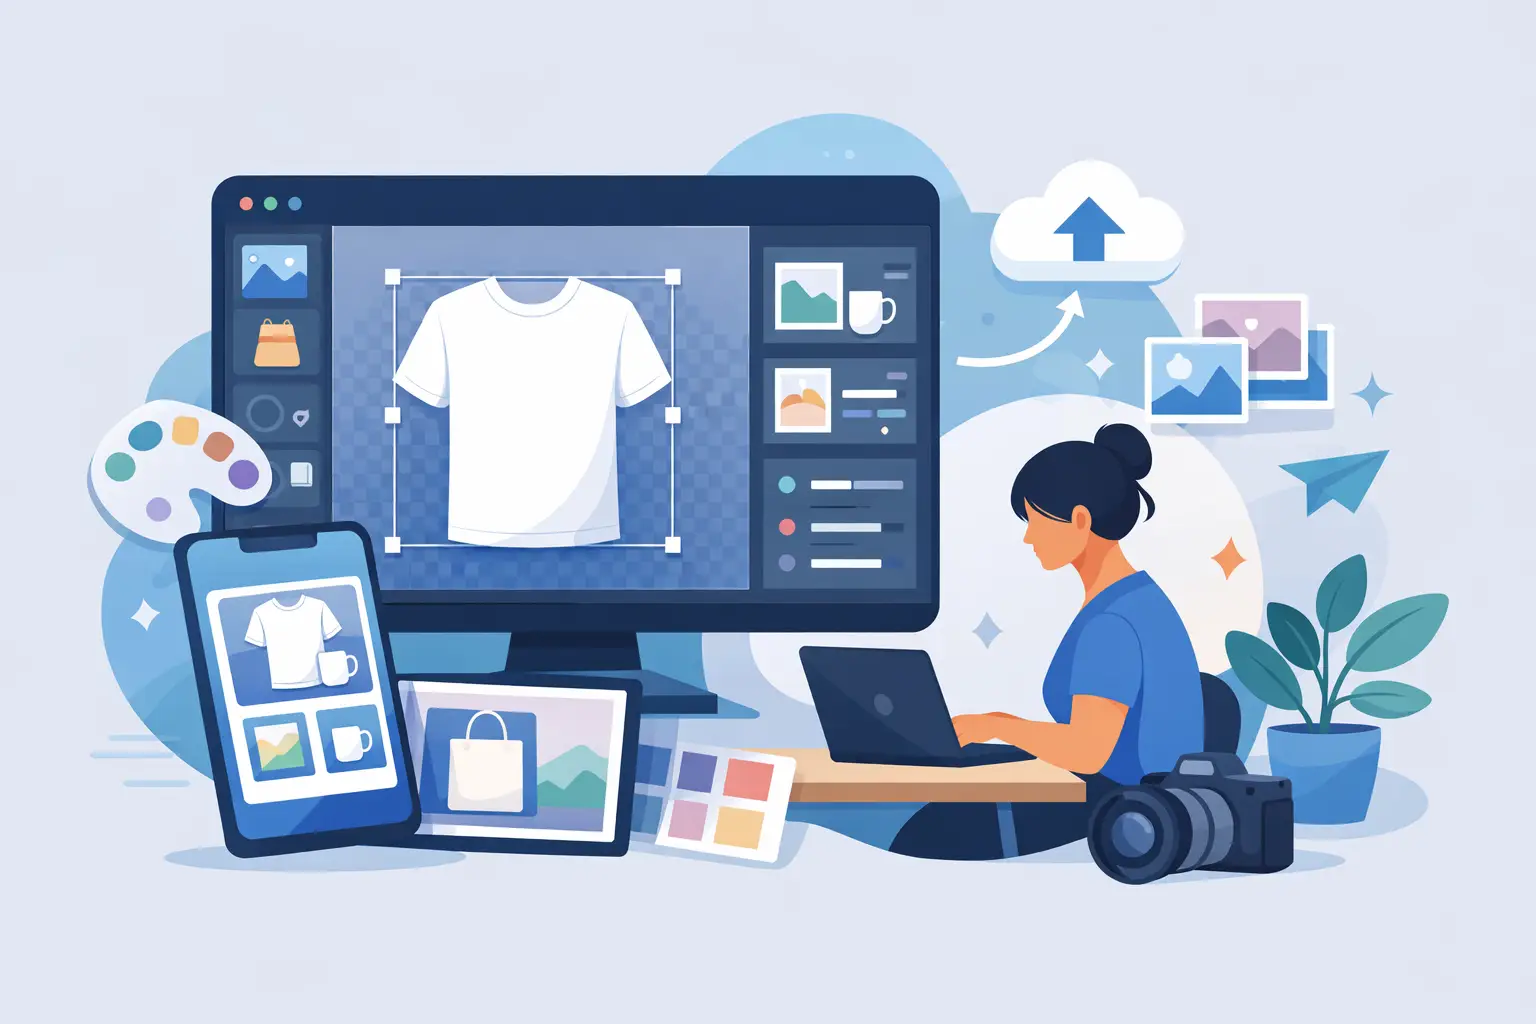
A strong Canva PNG mockup workflow starts before you open Canva. The fastest Etsy sellers do not rebuild a listing image from scratch for every new design. They begin with a product-ready scene, keep their artwork organized, and create a repeatable process for turning a flat file into a believable garden flag, throw pillow, or canvas tote bag listing image.
That matters when you are launching a seasonal collection, testing a new personalization idea, or refreshing older listings. Your customer is not only judging the artwork. They are judging whether the finished product feels giftable, usable, and worth clicking.
What a Canva PNG Mockup Workflow Does
A Canva-compatible PNG mockup gives you a finished lifestyle scene with a designated product area where your design sits. Rather than photographing a tote bag at a farmers market or staging a pillow in a living room, you begin with an image built for that purpose. You add your artwork, size it to the product area, and export a listing-ready visual.
The practical advantage is speed. A single artwork can become a primary Etsy image, a seasonal social post, and a Shopify collection visual without ordering samples or setting up a shoot. For sellers who work in Canva every day, it also removes the learning curve of Photoshop smart objects while still delivering a professional scene.
There is a trade-off. PNG mockups are best for scenes designed with a clear, mostly front-facing placement area. They are not as flexible as a layered PSD when you need to alter folds, isolate shadows, or make detailed perspective adjustments. For many everyday listing needs, though, the faster Canva route is exactly the right tool.
Start With the Right Artwork File
Your source file determines whether the mockup looks intentional or improvised. Export your artwork as a high-resolution PNG with a transparent background when the design itself needs to sit cleanly on the product. A solid-background design can work too, especially for a full-coverage print, but make sure that background is part of your intended product design.
Before uploading, check for small details that can disappear at listing size. Fine script, thin outlines, and pale colors may look beautiful on a full-screen canvas but become hard to read in an Etsy search grid. Zoom out and ask a simple question: can a shopper understand the design in one second?
For personalized products, make a clean master design first. Keep the customer name, date, or custom phrase in an editable Canva text layer until you are ready to produce the final variation. Once the personalization is approved, download the finished artwork as a PNG and place it into the mockup.
File naming saves more time than most sellers expect. Use names that identify the design, product type, and season, such as `autumn-dog-garden-flag.png` or `custom-grandma-tote-christmas.png`. When a customer asks for a variation two months later, you will know exactly which file belongs in which listing scene.
Build Your Canva PNG Mockup Workflow Step by Step
1. Create a listing-size Canva file
Start with a canvas sized for the platform where the image will appear first. A square layout works well for most product listings and keeps your visual consistent across Etsy, Shopify, and social posts. If you also create Pinterest graphics or email banners, make those as separate versions after the core listing image is complete.
Upload the mockup PNG and place it on the canvas. Keep it at its intended size rather than stretching it to fill every available pixel. Cropping too tightly can remove the environmental cues that make a cozy interior, porch, or market scene feel real.
2. Add the design behind the mockup layer
Many Canva PNG mockups work by placing your artwork beneath the product overlay. The foreground PNG contains the product shape, texture, lighting, and surrounding scene details. Your design sits behind it, visible through the product area.
Place the mockup PNG first, then upload your artwork and position it underneath. In Canva, use the Position controls to move the artwork backward until the product overlay sits on top. This is the step that creates the effect of your design appearing on the item rather than floating over the photo.
If the template includes a background image and a separate product overlay, keep the layer order simple: background at the bottom, artwork in the middle, and product overlay at the top. Lock the background and overlay once they are in place so you do not accidentally drag them while adjusting the design.
3. Scale for the product, not the canvas
Select your artwork and resize it to fill the visible print area. For a square throw pillow, make sure the design reaches the pillow edges where appropriate. For a garden flag, confirm that text has enough breathing room near the stitched border. For a canvas tote bag, keep key artwork away from handles, seams, and folds that may obscure it.
Do not use the full Canva canvas as your sizing reference. The product itself is the reference. A design that looks centered on the page can still look too high, too low, or too small once it is placed on a physical object.
This is also where product-aware design decisions pay off. A repeating pattern can fill a pillow naturally, while a centered quote may need a more conservative scale. A tote bag design often benefits from a slightly larger focal point because the bag may appear farther away in a lifestyle scene.
4. Check realism at full view and thumbnail size
Zoom in to check placement, then zoom out to check selling power. At full view, look for exposed blank areas, cut-off lettering, and artwork that runs outside the intended product shape. At thumbnail size, check whether the product and design still read clearly.
Avoid adding heavy filters or effects to compensate for a weak placement. The mockup scene already contains its own light, fabric texture, and visual depth. Your job is to make the artwork fit the product, not to decorate over the photography.
If a design uses a white background, inspect the edges carefully. Depending on the mockup, a pure white rectangle can look like a label placed on the product rather than a printed design. In that case, try a transparent artwork file, a full-bleed pattern, or a mockup scene that better matches the design format.
5. Export a clean, high-quality image
Download the finished image as a PNG when you want the best quality for your master listing asset. Use a high-quality JPG when you need a smaller file for faster uploads and the scene does not require transparency. Keep an editable Canva version so you can update wording, swap a seasonal design, or create a personalized order without rebuilding the layout.
Save one folder for editable working files and another for final exports. That separation prevents an easy mistake: uploading a draft that still includes guides, alternative text options, or an unapproved customer name.
Use One Scene for a Set, Not Every Listing
Consistency helps your shop look established, but every listing image does not need to be identical. Build a small set of reliable scenes around the products you sell most. A bright porch can support spring and summer garden flags. A warm living room can carry autumn and Christmas pillow designs. A market or casual outdoor scene can help canvas totes feel useful rather than flat.
Use the same scene for a cohesive product collection when the designs are related. Then introduce a second or third scene for variety across the shop. This keeps your catalog from looking repetitive while avoiding the time drain of choosing a new mockup for every single listing.
Seasonal relevance should guide the scene choice. A Christmas porch can make a holiday flag immediately understandable, while the same design in a generic neutral setting may lose urgency. On the other hand, a simple interior scene can extend the life of evergreen typography, family-name, and everyday gift designs.
Common Canva Mockup Problems and Fast Fixes
When artwork looks too small, the fix is usually not a larger canvas. Increase the artwork inside the visible product area. When the design appears to sit on top of the product, verify the layer order and move the artwork behind the PNG overlay.
When text is cut off, reduce the artwork slightly and re-center it based on the product edges, not the image edges. When colors seem dull, check the original export before changing the mockup. Low-resolution or compressed source art cannot be repaired by Canva effects.
If you need an exact fabric wrap, a complex angled product, or deep control over shadows and layers, use the PSD version instead. MockupSmith templates include both PSD smart-object files and Canva-compatible PNG options, so you can choose speed for routine listing production and Photoshop control for more demanding designs.
A useful workflow is not the one with the most steps. It is the one that lets you test a new design before the season passes, deliver a personalized order without stress, and make your shop look ready for the customer already searching.