2026-07-28
PSD Mockups for Product Listings That Look Real
PSD mockups turn flat product art into listing images that show scale, texture, and setting, helping Etsy and POD sellers launch faster and sell more today.
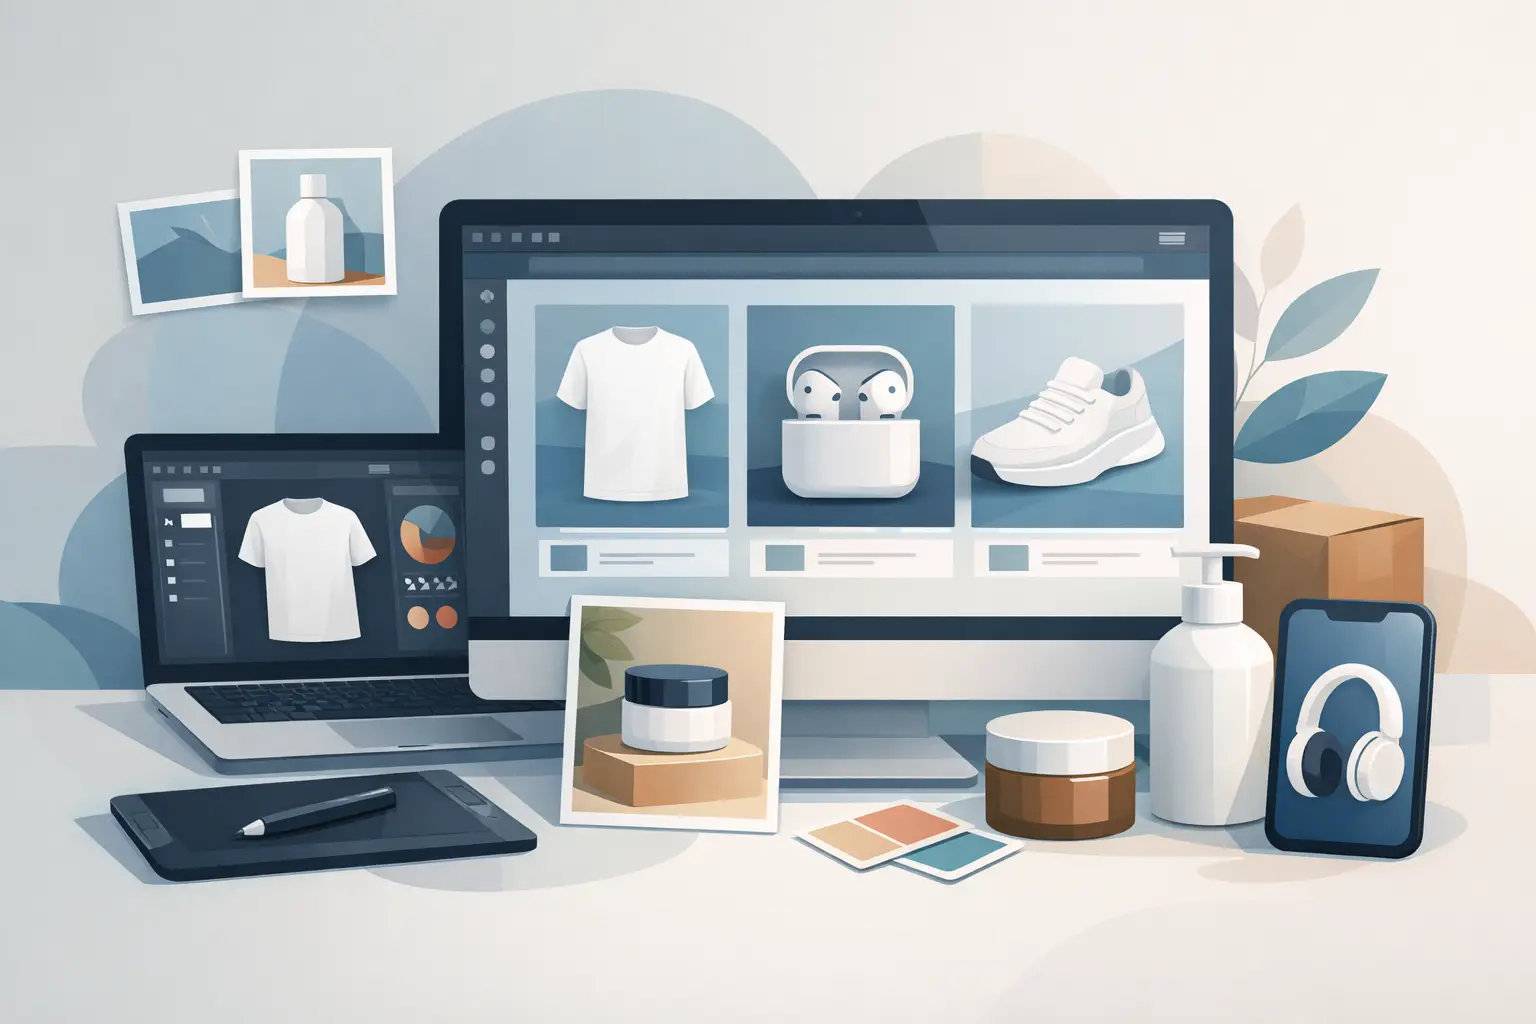
A garden flag design can look perfectly finished on your screen and still struggle to earn a click as a plain square image. Shoppers need to picture it on a porch, beside a walkway, or hanging near a front door. PSD mockups close that gap by placing your artwork into a photographed product scene, complete with believable fabric, light, folds, and perspective.
For Etsy and print-on-demand sellers, that is more than a visual upgrade. It is a faster way to build product listings that feel established before you have ordered a sample, booked a shoot, or found the right seasonal location. Your design becomes the focus, while the scene does the work of showing how it fits into a customer's home, gift, or everyday routine.
What PSD Mockups Actually Do
A PSD mockup is an Adobe Photoshop file built in layers. Its most useful feature is the smart object: a designated layer where you place your design. Once you save that smart object, the template applies your artwork to the product area while retaining the original photo's shape, shadows, highlights, and texture.
That means a floral illustration does not simply sit on top of a pillow as a flat rectangle. It follows the pillow's surface, works with the seams, and picks up the soft variation in the fabric. A garden flag design appears to hang naturally rather than looking pasted onto a background. The quality comes from the template construction, not from hours of manual photo editing.
For a seller, the practical benefit is consistency. You can use the same visual system across a collection of holiday flags, personalized pillow covers, or market tote bags while changing only the artwork. The storefront looks more organized, and shoppers can recognize the product format quickly as they browse.
Why PSD Mockups Help Product Listings Convert
Product images answer questions before a shopper reads your description. What size does this feel like? Where would it look good? Is it a seasonal accent, a housewarming gift, or an everyday item? A lifestyle mockup gives those answers in seconds.
A Christmas porch scene makes a winter garden flag easier to imagine as part of a decorated entryway. An autumn path gives fall artwork a timely setting without requiring you to photograph outdoors in October. A cozy sofa scene helps a square throw pillow read as home decor rather than a detached digital graphic. These visual cues add context without making the listing copy carry the entire sale.
There is also a credibility factor. Clean, realistic images signal that you have thought through the customer experience. That does not mean every listing needs a dozen heavily styled photos. In fact, too many unrelated scenes can make a shop feel inconsistent. The goal is to use a few strong images that show the product clearly, support the design theme, and match the season or audience you are targeting.
PSD Mockups Versus Flat Files and Product Samples
A flat design preview has a place. It is useful for showing artwork details, personalization options, and color variations. But it rarely communicates scale or material. Shoppers may understand the illustration, yet still have trouble imagining the finished item in their own space.
Product samples solve that problem, but they require more time and money. You may need to order the item, wait for fulfillment and shipping, stage it in a suitable location, photograph it well, then edit the result. That route makes sense when you need original product photography, want to verify a new supplier's print quality, or are building a highly distinctive brand aesthetic.
PSD mockups are the practical middle ground for most launches. They allow you to test designs, prepare seasonal listings ahead of demand, and create polished merchandising without turning every new idea into a photo-production project. Use samples for quality control and occasional original content. Use mockups to keep your listing pipeline moving.
A Fast Workflow for Using PSD Mockups
The best workflow begins before Photoshop opens. Start with artwork sized for the real product's printable area, not just a social media canvas. A garden flag, square pillow, and canvas tote each have different proportions. If your design is too narrow, too wide, or built around tiny lettering, it may look less convincing once placed into the mockup.
Choose a scene that supports the design
Match the setting to the buyer's likely use case. Bright porch imagery works well for welcome signs, seasonal garden art, and personalized outdoor decor. Neutral interiors are flexible for pillows with family names, botanical art, and gift-focused designs. Farmers market or casual lifestyle scenes can give tote bag artwork a useful, everyday feel.
The scene should support the product, not compete with it. If your design is colorful and detailed, choose a setting with enough visual breathing room. If your artwork is simple, a richer scene can add warmth and perceived value. It depends on the design, but clarity should win over decoration.
Place your artwork in the smart object
Open the PSD file and look for the layer typically labeled with instructions such as "Place Design Here" or "Your Design." Double-click the smart object thumbnail, paste or place your artwork in the new window, adjust its size and position, then save. Return to the main file and the mockup updates automatically.
Before exporting, inspect the result at full size. Check that important text is not pushed into a seam, fold, or edge. Make sure a name, date, or personalized message remains readable. If the template offers color adjustment layers, use them carefully. A product color should enhance the design, not reduce contrast or make the image less believable.
Export for the channel, not just the file folder
For Etsy and Shopify, export a high-quality JPEG or PNG at the platform's recommended image dimensions. Keep a master PSD with editable layers so you can return to it when you add a new name, revise a colorway, or create a coordinated collection.
Create a naming system as you work. Including the product type, design name, scene, and season in the filename prevents confusion later. For example, you should be able to tell the difference between a fall garden flag porch image and a fall garden flag pathway image without opening either file.
When Canva-Compatible PNGs Make More Sense
Not every seller uses Photoshop, and not every listing requires advanced adjustment. Canva-compatible PNG files are useful when you need a quick visual placement option or want to create simple promotional graphics without working in layered PSD files.
The trade-off is control. A smart-object PSD is designed to apply artwork with the perspective and material treatment already built in. A PNG-based workflow may be faster for a Canva-first seller, but it can offer fewer editing options depending on the file and product format. If you regularly launch design collections and want the most natural integration, PSD smart objects are usually worth learning.
A mixed workflow is often the efficient choice. Use the PSD version for your primary listing images, where realism matters most. Use Canva-compatible files for sale announcements, social posts, shop banners, or quick variations. You do not need to choose one tool for every task.
Mistakes That Make a Good Mockup Look Less Real
The most common issue is forcing artwork into a product shape it was not designed for. A wide landscape composition may feel cramped on a square pillow, while a dense center graphic can disappear on a folded tote. Build or adapt each design for the product dimensions you are selling.
Another mistake is treating every mockup as proof of the exact final product. A mockup presents your artwork in a styled product scene, but your listing should still state the actual product details, dimensions, materials, and fulfillment information accurately. Honest specifications protect buyer expectations and reduce avoidable messages or returns.
Finally, avoid using the same image as every listing photo. Pair the lifestyle hero image with detail-focused views, personalization instructions when relevant, and a clear product information graphic. The first image should earn attention. The rest should help the shopper make a confident decision.
A polished listing does not need a studio, a front porch, and a camera bag every time you release a design. It needs artwork that fits the product, a scene that makes the use case clear, and images that let shoppers picture the finished piece in their own lives. Start there, then give your next collection the visual standard it deserves.