2026-09-08
How to Use Smart Objects for Mockups That Sell
Learn how to use smart objects for mockups to turn flat artwork into realistic Etsy and POD listing images faster, with clean, repeatable results today.
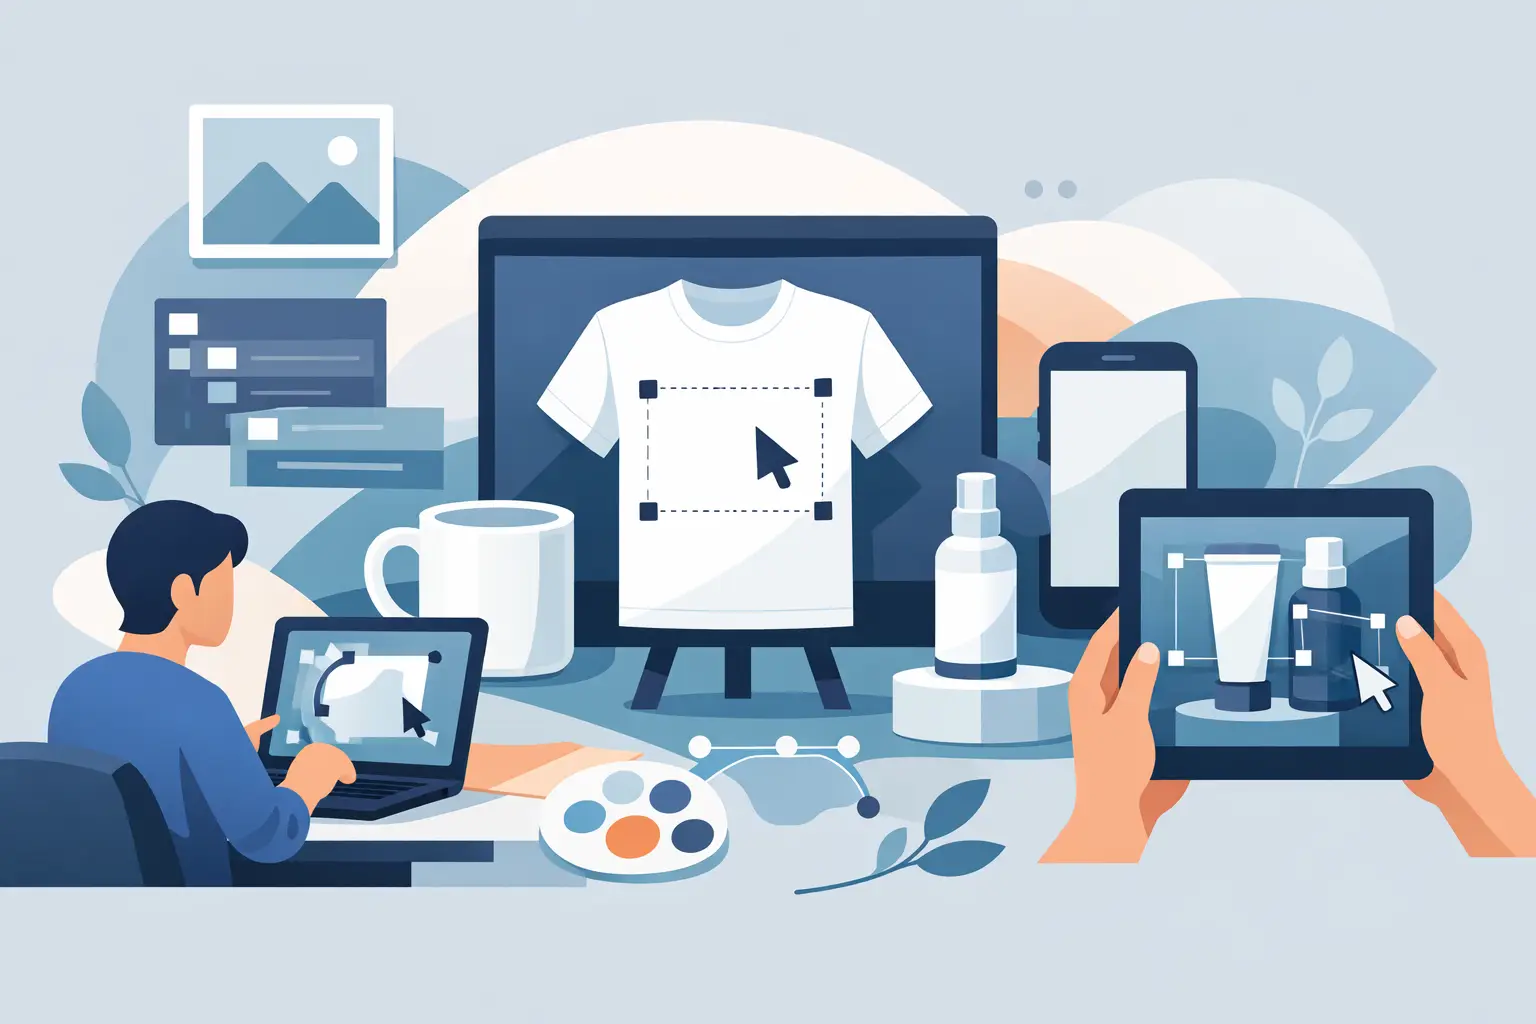
A garden flag design can look polished on a plain artboard and still feel like a gamble in an Etsy listing. Shoppers need to see the scale, fabric, setting, and seasonal mood before they picture it on their own porch. When you use smart objects for mockups, you place your artwork into a photographed product scene while the PSD handles the details that are difficult to fake: perspective, folds, shadows, texture, and light.
For print-on-demand and digital-product sellers, that is more than a design shortcut. It is a faster way to create product images that look considered, seasonal, and ready to sell without ordering samples or planning a photoshoot.
Why Smart Objects Work for Product Mockups
A smart object is a special Photoshop layer that holds your artwork in its own editable file. Instead of manually warping a design around a tote bag or rebuilding shadows for every garden flag, you open the smart object, paste in your artwork, save it, and return to the main mockup. Photoshop updates the product presentation automatically.
The real value is consistency. Your original artwork stays intact inside the smart object, while the template applies the scene's perspective and product shape. A square pillow can keep its fabric wrinkles. A canvas tote can retain the natural weave and handles. A flag can appear correctly positioned on its stand, even when the scene is angled or softly lit.
This is especially useful when you sell several designs in one product format. Once you understand a template, you can produce a coordinated set of listing images without repeating the time-consuming parts of image editing.
How to Use Smart Objects for Mockups in Photoshop
The workflow is simple, but a few small habits make the finished image look much more convincing. Start with a layered PSD mockup designed for the physical item you sell. A tote bag template is built differently from a pillow or garden flag template, so the product category should match your listing.
Open the PSD and find the design layer
Open the mockup file in Photoshop and look through the Layers panel. The editable layer is usually clearly labeled with language such as “Your Design Here,” “Place Artwork,” or “Smart Object.” Its thumbnail often includes the smart object icon, a small page symbol in the lower corner.
Double-click that layer thumbnail, not the layer name. Photoshop will open a separate document, commonly a PSB file. This is the editable canvas for your artwork.
If you are unsure which layer controls the product design, toggle the layer visibility on and off in the main PSD. You should see the printable area change. Do not edit background, shadow, or texture layers unless the template instructions specifically tell you to do so.
Add artwork at the right size
In the smart object document, place your design using File > Place Embedded, or paste it onto the canvas. Scale it to fill the printable area unless your product intentionally includes a border or smaller centered artwork.
Keep your source design high resolution. For most product images, start with artwork created at the print ratio and size required by your POD provider. A low-resolution image may look acceptable in a small listing thumbnail but become noticeably soft when shoppers zoom in.
Pay attention to edges, too. If your artwork contains a colored background, extend it fully past the smart object canvas. Tiny gaps at the edges can become visible on light-colored flags, pillows, and totes.
Save, close, and let the template do the work
Save the smart object document with Command + S on Mac or Control + S on Windows. Then return to the original PSD tab. Within a moment, your artwork should appear on the product in the lifestyle scene.
This is where smart objects earn their place in your workflow. The mockup preserves the scene's lighting, folds, and material texture without requiring you to manually distort your artwork. A good template makes a flat file look like a real item that has already been photographed.
Export the finished image as a JPG or PNG at the dimensions your marketplace needs. Keep the original PSD unchanged so you can return later and replace the design with another variation.
Make the Mockup Match the Product You Sell
Smart objects create realistic placement, but they cannot correct a mismatch between the mockup and your actual offer. If you list a 12 x 18-inch garden flag, use a scene with the same style and proportions. If your provider prints a square throw pillow, do not present the design on a rectangular cushion just because the setting looks nice.
Color also needs a practical review. Bright white art may look warmer in a cozy indoor scene because the room lighting is warm. That can be desirable, since it makes the image feel natural, but check that the listing is not misleading. If exact product color is a major buying decision, include a clean secondary image or a product detail graphic alongside the lifestyle mockup.
The same principle applies to design placement. A centered monogram can look excellent on a tote bag, while an all-over pattern may need more visual coverage to avoid appearing undersized. Always inspect the image at both full size and thumbnail size. Etsy shoppers often make their first decision from a very small preview.
Build Listing Images Faster With a Repeatable System
The easiest sellers to recognize usually have a consistent visual standard. Their listings do not all use the identical scene, but the images feel related in quality, product scale, and seasonal relevance.
Create folders by product type and season. For example, keep autumn garden flag designs separate from Christmas porch scenes, neutral tote artwork, and square pillow collections. Save a copy of each completed PSD with a clear file name that includes the product, design, and scene. That makes it easy to update an old listing or create a new colorway later.
For a collection launch, batch your work. Open one mockup, replace the smart object artwork, export the finished file, then move to the next design. This is typically faster than building each listing from scratch because the product styling and scene selection are already handled.
It also helps to choose scenes based on the customer's moment. A farmers market tote scene supports giftable, everyday designs. A front porch garden flag adds context for seasonal sayings. A warm living room gives throw pillow art the scale and comfort shoppers expect. The background should help buyers imagine ownership, not compete with the artwork.
Common Smart Object Mistakes to Avoid
The most common issue is saving the wrong file. After editing the smart object, you must save the PSB document itself. Saving only the main PSD will not update the artwork placement.
Another problem is flattening layers too early. Keep your working PSD layered until you have exported the final listing image. You may want to adjust a design, swap a seasonal phrase, or create a matching color version later. Smart objects make these updates quick only when the original structure remains available.
Avoid over-editing the scene. Increasing brightness, sharpening aggressively, or adding heavy filters can remove the natural fabric texture and shadow detail that make the mockup believable. Make only light adjustments when needed, and apply them consistently across a listing set.
Finally, do not use a mockup as evidence of a feature your real product does not offer. If the template shows a cream canvas tote, make sure your fulfillment partner offers a comparable tote color and construction. Strong merchandising builds trust when the image and delivered item align.
Photoshop Smart Objects vs. Canva PNG Mockups
Photoshop smart object mockups are the best choice when you want editable placement, the most flexible design changes, and artwork that follows the product's shape automatically. They are particularly useful for sellers producing many variations of the same item.
Canva-compatible PNG mockups offer a lower-friction option for sellers who do not use Photoshop. You can place artwork beneath a transparent product overlay and arrange it visually in Canva. This can work well for quick social graphics or simple listing images, although it may require more manual sizing and positioning than a dedicated PSD smart object.
Neither format is automatically better. It depends on your workflow, the complexity of the scene, and how often you plan to update designs. Many sellers keep both available: PSD files for high-control product images and PNG files for fast promotional content.
MockupSmith templates are built around the products POD and Etsy sellers actually need to merchandise, including garden flags, square throw pillows, and canvas tote bags. With layered PSD smart objects and Canva-compatible PNG options, you can choose the workflow that gets your next listing live without sacrificing the finished look.
The goal is not to make every listing image look overly produced. It is to help the right buyer understand your design in a real setting quickly enough to click, save, or add it to their cart. Start with one strong scene, keep your artwork print-ready, and let the mockup carry the photography work your shop does not need to do itself.