2026-08-27 · updated 2026-09-22
Canva PNG Versus PSD: Which Mockup File Fits?
Canva PNG versus PSD for product mockups: compare speed, editing control, realism, and the right workflow for Etsy and POD listing images that sell now.
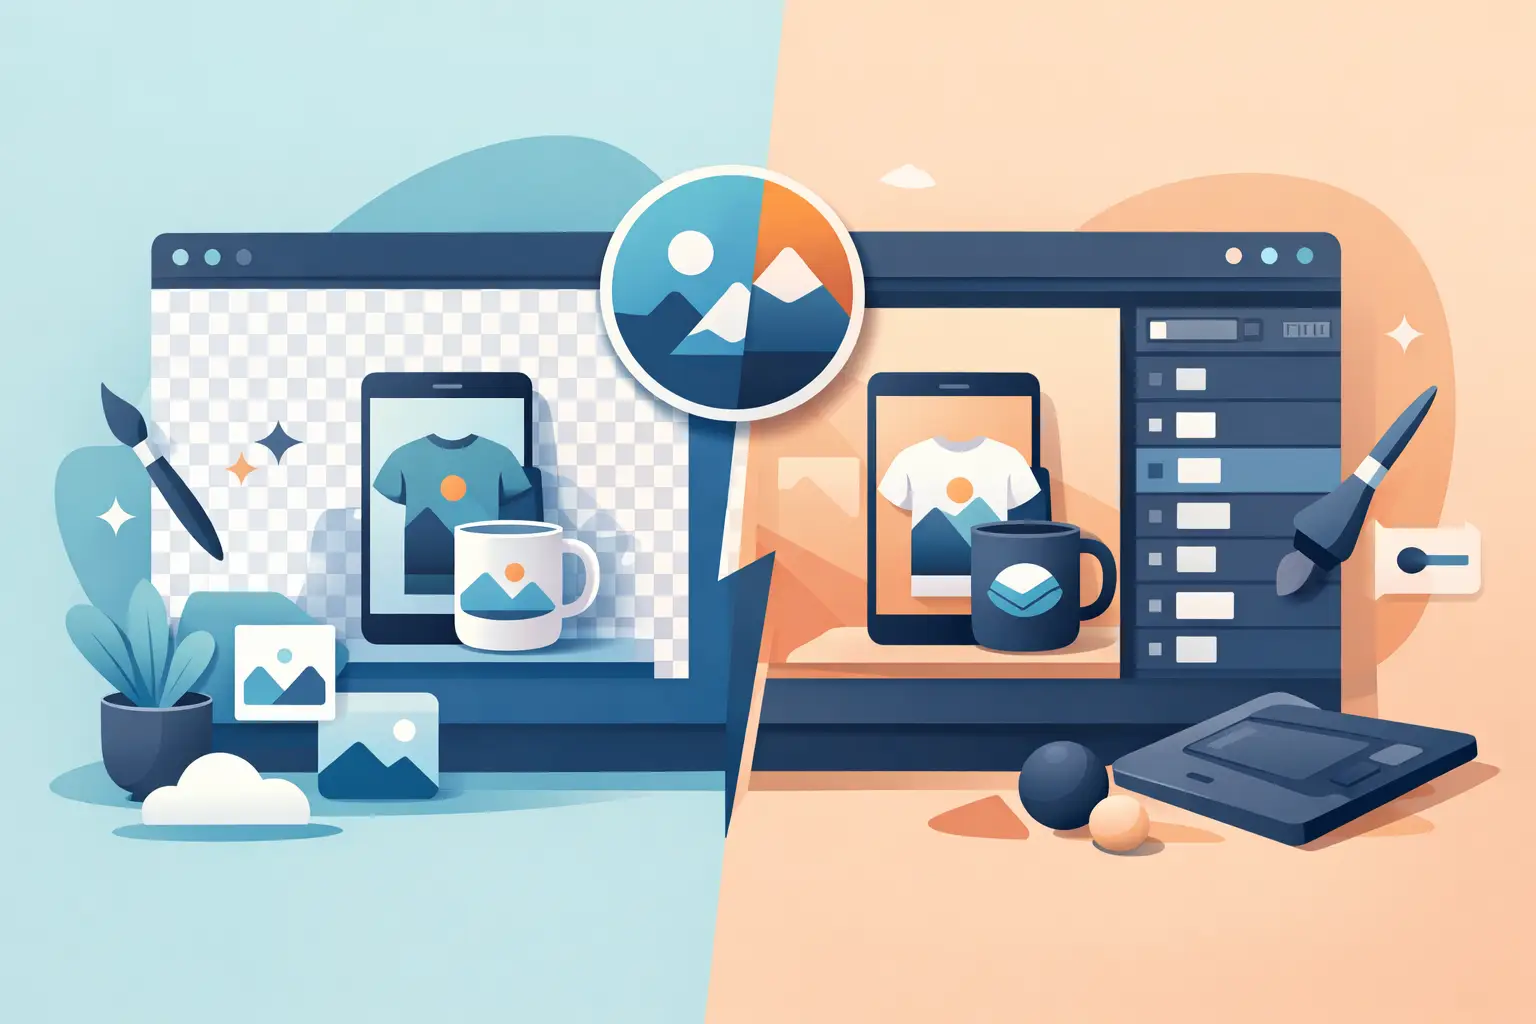
A garden flag design can look finished on your screen and still feel unconvincing in an Etsy listing. Buyers want to see the flag moving beside a porch, a tote bag carried through a market, or a pillow styled on a sofa. That is where the Canva PNG versus PSD decision matters. Both file types can turn your flat artwork into a polished product image, but they give you different levels of speed, control, and realism.
For busy POD and Etsy sellers, the best choice is not always the most advanced file. It is the one that gets your listing live with a professional result, without creating extra production work. If you already work in Canva, a PNG workflow may be the practical choice. If you need your artwork to follow fabric folds, lighting, and perspective precisely, a PSD smart object is usually worth the extra step.
Canva PNG versus PSD for Product Mockups
A Canva-compatible PNG is built for accessibility. You upload the included mockup image and your design into Canva, arrange your artwork according to the template instructions, and export a finished listing image. There is no need to own Photoshop, learn layers, or work through a complex editing panel. For a seller creating a quick seasonal launch or testing several designs, that simplicity has real value.
A PSD is a layered Photoshop document. In a quality mockup, the product design area is connected to a smart object. You open that smart object, paste in your artwork, save it, and return to the main file. The mockup applies the artwork to the product while preserving the scene's shadows, highlights, texture, and shape.
The difference is not that one file is professional and the other is not. The difference is how much the file can automate. A Canva PNG gives you a straightforward visual asset for a low-friction workflow. A PSD gives you deeper control over the finished scene and typically a more integrated result on products with visible texture, folds, or angled surfaces.
When Canva PNG Files Are the Better Choice
Canva is often the right tool when speed matters more than fine-grain editing. If you are launching a new set of autumn garden flag designs, for example, you may need several listing photos before the weekend rather than one highly customized hero image. A Canva-compatible PNG helps you create those assets using software you already know.
It is also a strong fit for sellers who build their entire marketing workflow in Canva. You can create a product mockup, add a small callout or brand element if appropriate, resize the image for Etsy, Pinterest, and social posts, then keep everything organized in one project. That reduces app switching and makes it easier to maintain a consistent shop look.
Canva PNG files work especially well when the design placement is simple and the product is shown relatively straight-on. A tote bag with a clear print area, a square pillow facing the camera, or a flat product detail image can all be effective with this workflow. The final result still depends on careful sizing. Your artwork should fill the intended print area without clipping, leaving awkward empty space, or covering product details that should remain visible.
The trade-off is flexibility. A PNG is generally a flattened image, not a collection of independently editable scene layers. You may be able to place your artwork quickly, but you cannot expect to separately adjust every shadow, fold, or background element the way you can in a layered PSD. If the design needs to wrap around a curved tote, sit naturally inside deep pillow texture, or match a strong side angle, Canva can require more manual judgment.
When PSD Smart Objects Earn Their Place
PSD smart objects are made for sellers who want the mockup to do more of the visual work. Instead of trying to imitate fabric texture or perspective by hand, you replace the artwork inside the smart object and let the template carry it through the scene. Your design appears as though it was photographed on the actual item.
This matters most on lifestyle mockups. A canvas tote hanging at an angle, a pillow with visible seams, or a garden flag outdoors in directional light has visual information that a flat placement cannot fully reproduce. The PSD can preserve those details so the artwork follows the product rather than sitting on top of it.
Smart objects also make design swaps efficient once you understand the routine. Open the smart object, insert your new art, save, and review the main scene. For a shop with many colorways, names, or seasonal variations, that repeatable process can be faster than rebuilding placements from scratch. It also creates more consistent results across a collection.
The trade-off is that Photoshop has a learning curve. You need access to Photoshop or compatible software that supports the mockup's smart-object features correctly. You also need to follow a few basic file-handling habits: keep the original layers intact, save a copy before experimenting, and export your final image at a listing-ready size. None of this is difficult for long, but it is more involved than dropping images into Canva.
Choose Based on the Image You Need to Sell
The fastest way to choose between Canva and PSD is to start with the role of the image. If you need a clean secondary listing photo, a quick social graphic, or a fast test of a new design, Canva PNG may be all you need. It is practical, accessible, and easy to revise.
If you need your primary Etsy image to create an immediate sense of quality, use the PSD when it is available. Your first image has to earn the click in a crowded search page. Realistic light, fabric, and setting help shoppers imagine the product in their own home or as a gift. That visual confidence can matter more than adding another graphic element.
Many sellers get the best result by using both. Build your hero lifestyle image in Photoshop with the PSD smart object, then use Canva to create supporting listing images, sale graphics, shop banners, or platform-specific crops. This is not an either-or workflow. It is a way to match the tool to the task.
For example, a Christmas porch garden flag mockup may deserve the PSD treatment because the outdoor light, fabric movement, and seasonal setting are part of what makes the product feel gift-ready. A simple size guide or a collage showing three available designs is usually faster in Canva. Each asset has a job, and the file format should support that job.
How to Avoid Common Mockup Mistakes
Whichever format you choose, start with high-resolution artwork. A small raster image can look acceptable on a design canvas but become soft once enlarged for a mockup. Use the original high-quality PNG, JPG, or print-ready design file whenever possible.
Check your placement before exporting. Centered is not always correct, particularly when a product has folds, handles, seams, or a visible edge. Look at the mockup at full size and ask whether the design appears printed on the item rather than pasted over it. In Photoshop, inspect how the smart object handles the scene. In Canva, take extra care with scale, alignment, and any supplied overlay elements.
Keep listing images focused on the product. A photorealistic scene should support the item, not compete with it. Choose a mockup setting that fits the season and buyer intent. A cozy interior can make a square throw pillow feel giftable, while a farmers market scene can give a tote bag a useful, everyday context.
Finally, use the same visual standard across your shop. If one listing has a polished lifestyle mockup and the next uses a plain design screenshot, shoppers may see the products as less cohesive. Templates with both layered PSD files and Canva-compatible PNG files give you room to build that consistency at your own skill level. MockupSmith formats are designed for exactly this kind of flexible product-image workflow.
The Practical Choice for Your Shop
Choose Canva PNG when you want quick production, familiar tools, and an easy way to turn designs into usable marketing images. Choose PSD when your product image needs realistic perspective, fabric detail, lighting, and control that a flat workflow cannot easily provide.
You do not need to become a Photoshop expert before you can sell professionally. Start with the file format that keeps your listings moving, then use PSD smart objects for the images where realism has the most to gain. A strong mockup does more than display your design - it helps a shopper picture it already hanging, sitting, or being carried in their life.