2026-07-21
How to edit a PSD mockup in Photopea (free, in your browser)
No Photoshop? No problem. Photopea opens layered PSD mockups in any browser — here's the full workflow, from opening the file to exporting a listing-ready JPG.
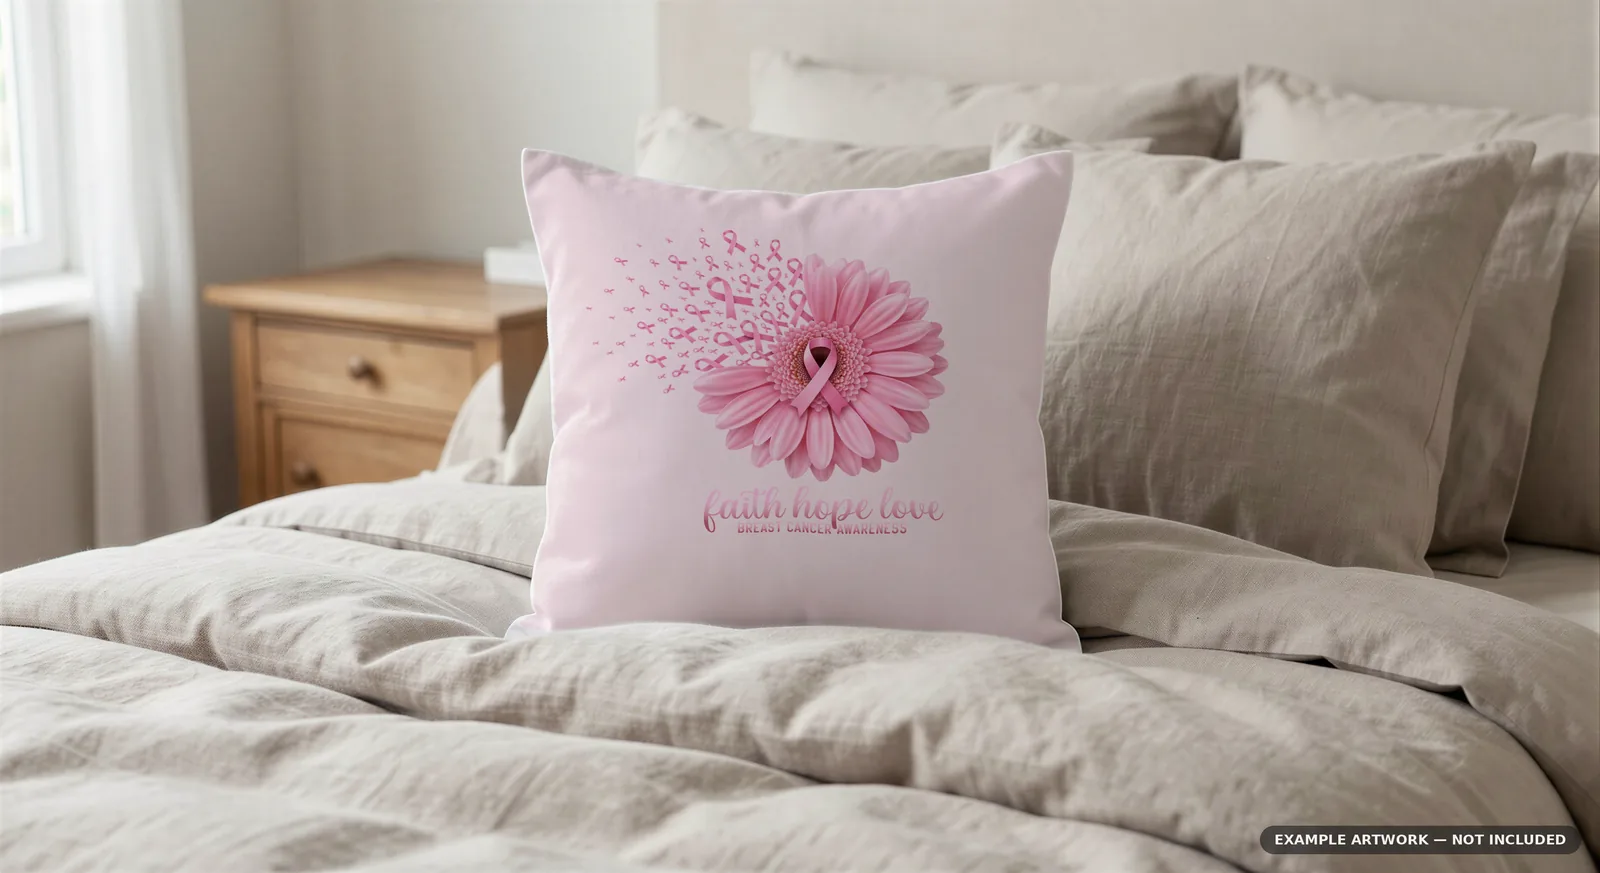
You don't need Photoshop to use a PSD mockup. Photopea is a free editor that runs entirely in your browser, opens layered PSD files natively, and handles the one feature mockups depend on: smart objects. Here's the whole workflow.
1. Open the PSD
Go to photopea.com and drag your mockup file into the window (or File → Open). Large mockups can take a few seconds to parse — the file loads locally in your browser, nothing is uploaded to a server.
2. Find the design layer
In the layer panel on the right, look for the layer named something like "YOUR DESIGN HERE" — in our mockups it's always at the top of the layer stack and marked with a small page icon, which means it's a smart object.
A smart object is a container: whatever you put inside it gets wrapped onto the product photo automatically, with the perspective, folds, and lighting handled for you.
3. Replace the design
Double-click the smart object's thumbnail (not its name). It opens as a separate tab with a flat canvas — this is the "inside" of the container.
- Drag your artwork into that tab (File → Open & Place also works).
- Scale it to cover the canvas: press Ctrl/Cmd + T, hold Shift if you need to keep proportions, and pull the corners.
- File → Save (or Ctrl/Cmd + S) — Photopea saves the smart object and jumps back to the main tab, where the mockup now shows your design wrapped onto the product.
That's the whole trick. Every scene in the file that uses the same smart object updates at once.
4. Recolour, if the mockup supports it
Layered mockups often include colour layers (ours ship with hex-recolourable regions — the solid-colour layers are grouped and labelled). Double-click a colour layer's swatch, type your hex code, done. Skip this step if you only need the design swap.
5. Export
File → Export as → JPG for listings (quality 80–90 is plenty), or PNG if you need transparency. Etsy listing images look best at 2000 px on the long side — our mockups render larger than that, so export at full size and let Etsy scale down.
Common snags
- Double-clicking the layer name instead of the thumbnail just renames the layer. It's the thumbnail that opens the smart object.
- The design looks stretched — your artwork's aspect ratio doesn't match the smart object canvas. Design to the canvas dimensions (they're listed in each product's description) instead of forcing a fit.
- Fonts look different — if your design uses live text, flatten it to pixels before placing it. Photopea substitutes missing fonts silently.
Every mockup in our catalogue is tested in Photopea before it ships — if a file ever misbehaves there, that's a bug, and we want to hear about it.